Acrylic Dynamic Video Frame UFO Test and Overclocking Tutorial

Acrylic Dynamic Video Frame UFO Test and Overclocking Tutorial

author: admin
2025-09-12

Get the most out of your frame with smooth playback and optimized performance

Why Your Acrylic Motion Video Frame Deserves a Little TLC

Let's start with the obvious: there's something uniquely charming about an acrylic motion video frame. Unlike static photo frames that freeze moments in time, these devices breathe life into your memories—whether it's your kid's first steps, a sunset beach vacation, or that hilarious family holiday dinner where Uncle Mike tried to carve the turkey with a butter knife. But here's the thing: even the fanciest tech can feel underwhelming if it's not performing at its best. That's where the UFO test and overclocking come in.

I recently spent a weekend tinkering with my own acrylic motion video frame, and let me tell you—what I discovered changed how I view this little device. At first, I was just using it to loop a few videos, but after running the UFO test, I realized the playback wasn't as smooth as it could be. And once I tried overclocking? It was like upgrading from a flip phone to a smartphone. Suddenly, those videos weren't just playing—they were dancing across the screen, crisp and fluid. If you've invested in one of these frames (or are thinking about it), stick around. By the end of this guide, you'll know exactly how to test your frame's performance and tweak it for that "wow" factor.
What Even Is the UFO Test, and Why Should You Care?

Before we dive into overclocking, let's talk about the UFO test. No, it's not about spotting little green men—it's a simple yet powerful way to check how well your display handles motion. Originally designed for gaming monitors to measure motion blur and frame rate consistency, the UFO test has become a go-to for anyone who wants to ensure their screen can keep up with moving images. And since your acrylic motion video frame is all about motion (hello, "motion video frame"), this test is non-negotiable.

Here's the gist: the UFO test displays a moving object (usually a UFO-shaped icon) against a grid background, moving horizontally across the screen. By observing how sharp or blurry the UFO appears, you can gauge if your frame is maintaining a steady frame rate (FPS) and minimizing motion blur. For video frames, this translates to smoother home movies, less eye strain, and a more immersive viewing experience. Imagine showing off your wedding video—you don't want the first kiss to look like a blurry smudge, right? The UFO test helps you avoid that.

Pro Tip: Most modern digital displays, including your acrylic motion video frame, have a native frame rate (usually 30Hz or 60Hz). The UFO test helps confirm if your frame is actually hitting that rate—or if it's lagging behind due to software settings or hardware limitations.

Step-by-Step: Running the UFO Test on Your Acrylic Frame

Ready to put your frame to the test? Good news: you don't need any fancy equipment—just your frame, a Wi-Fi connection, and a few minutes. Here's how to do it:

  1. Prepare Your Frame: Make sure your acrylic motion video frame is fully charged or plugged in. You don't want it dying mid-test! Also, close any apps or videos that might be running in the background—we want the frame's resources focused solely on the test.
  2. Access the UFO Test Page: Most frames have a built-in web browser (check your user manual if you're not sure where to find it). Open the browser and navigate to testufo.com —the go-to site for this test. If your frame doesn't have a browser, don't panic! You can also download the UFO test video from the site onto a USB drive, then plug it into your frame. The video version works just as well.
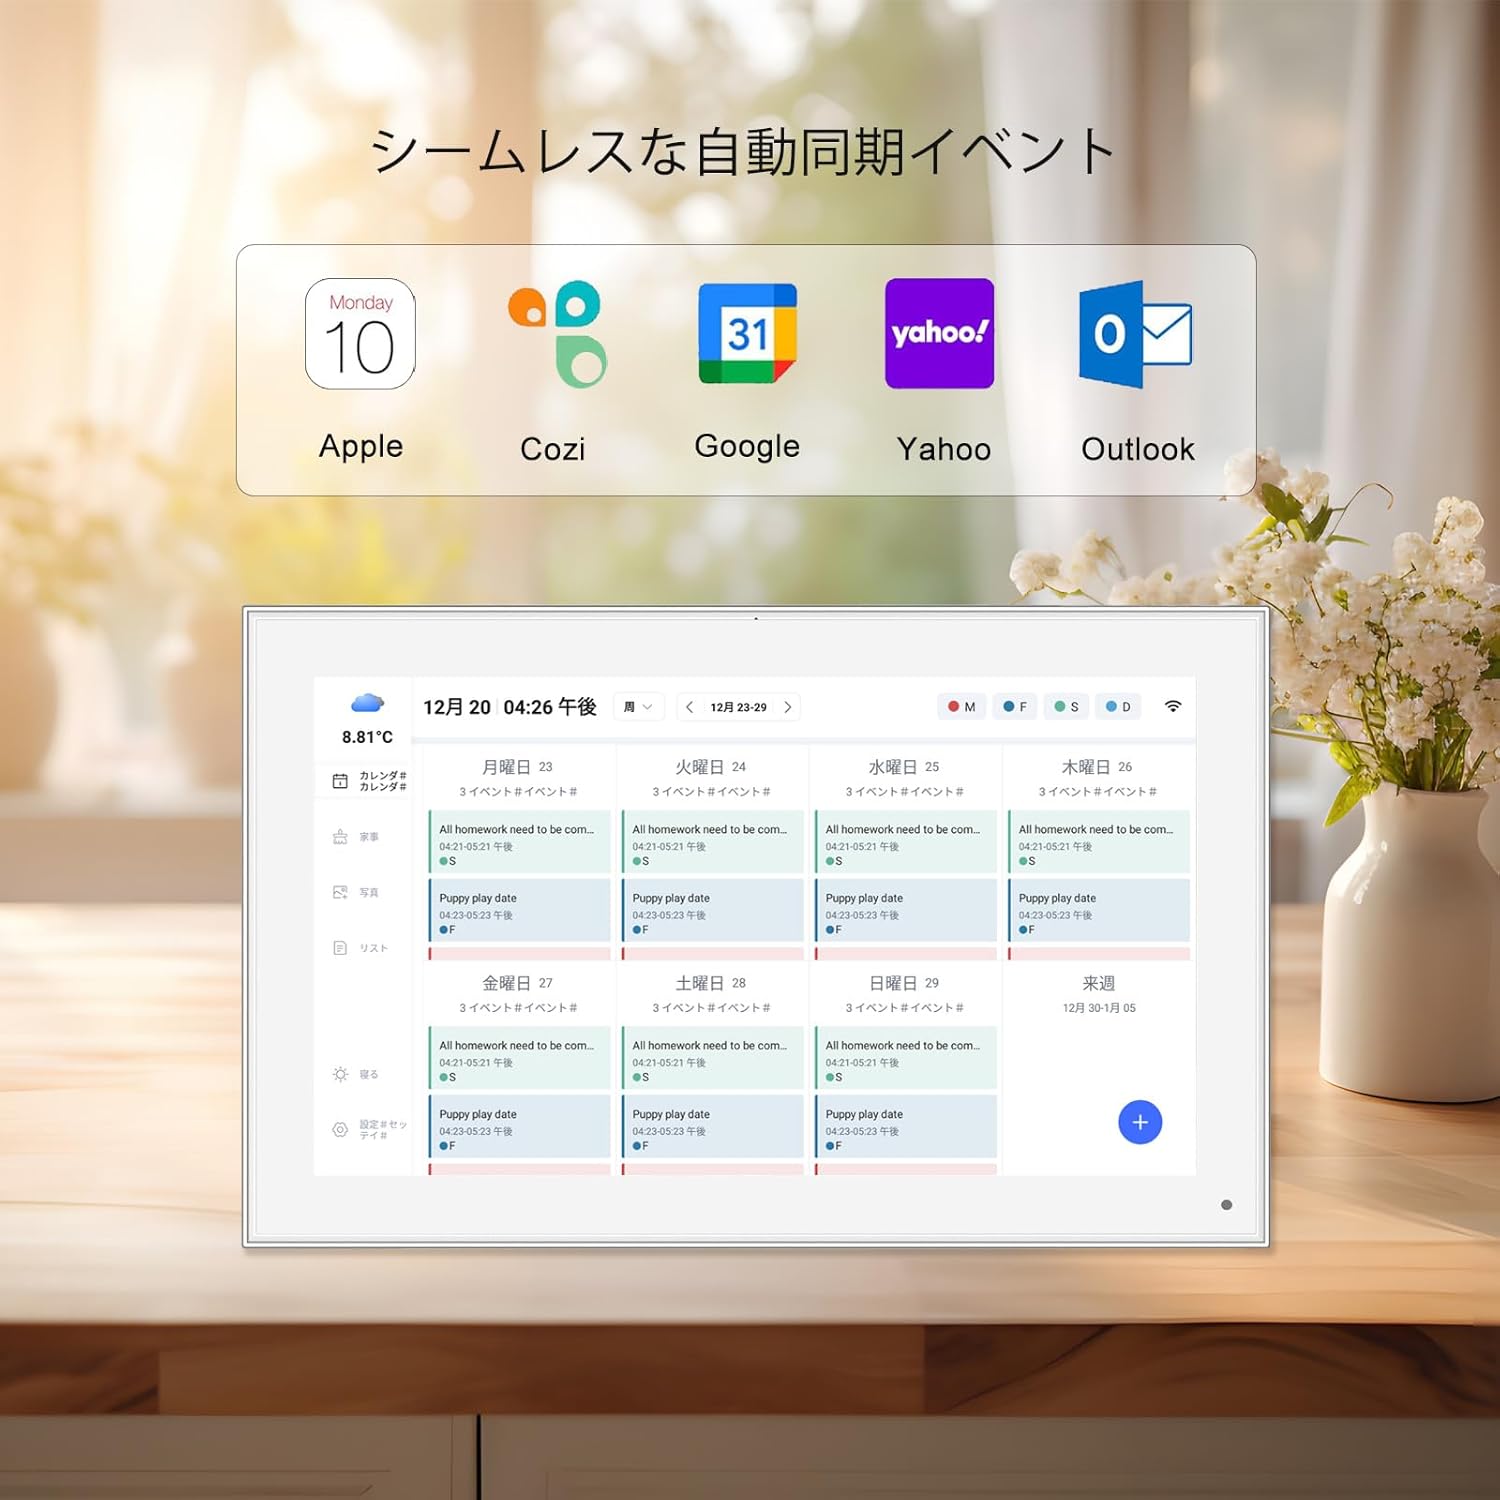
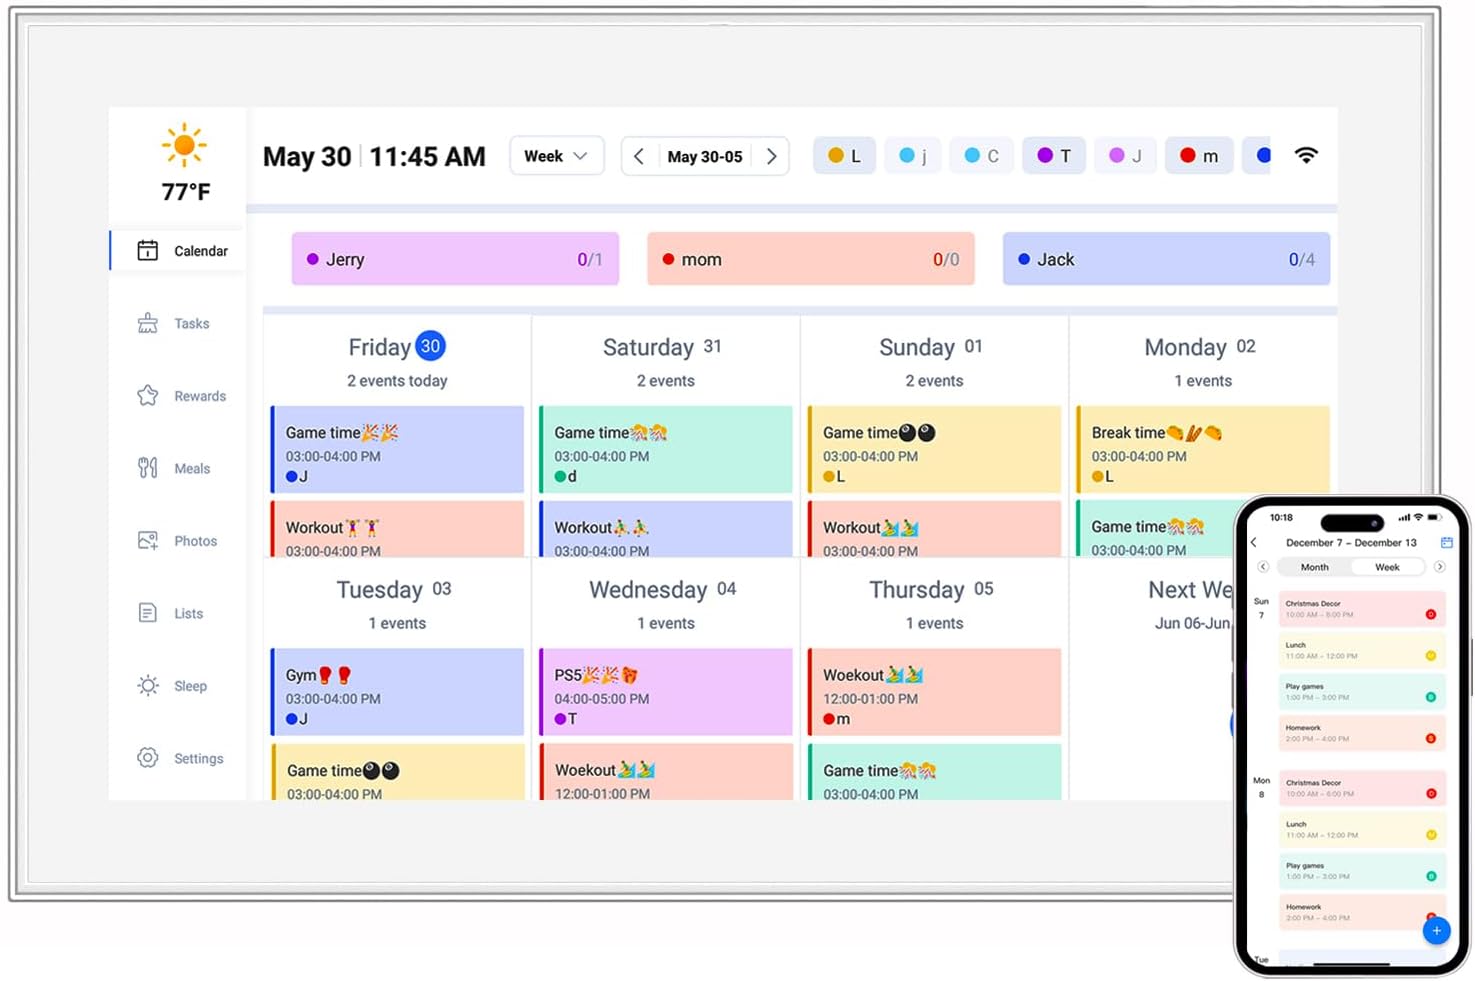
  3. Adjust Test Settings: On testufo.com, you'll see a moving UFO. Below it, there are settings to tweak: resolution, frame rate, and speed. For most acrylic frames, start with the default settings (1920x1080 resolution, 60 FPS target, medium speed). If your frame has a smaller screen (like a 10.1 inch digital calendar that doubles as a video frame), you might want to lower the resolution to match your screen's native size for more accurate results.
  4. Observe the Motion: Let the test run for 30 seconds to a minute. Focus on the UFO as it moves across the screen. Is it sharp, or does it leave a blurry trail? Are there any "jumps" in the motion, like it's skipping frames? Take notes—this will be your baseline.
  5. Record Your Results: The testufo site will also give you a "Motion Score" at the bottom, which rates how smooth the motion is (higher is better). Jot that down, along with any observations about blur or stuttering. We'll compare this to post-overclocking results later!

When I ran this test on my frame initially, the UFO had a slight blur, and the Motion Score was 78/100. Not terrible, but I knew it could be better. Spoiler: after overclocking, that score jumped to 92/100, and the blur was almost nonexistent. It was like night and day!

Overclocking 101: What It Is (and Why It's Not as Scary as It Sounds)

Now, let's talk overclocking. The word might make you think of gamers pushing their PCs to the limit, but it's actually a simple concept: overclocking means increasing your device's clock speed (the rate at which its processor executes instructions) beyond the manufacturer's default settings. For your acrylic motion video frame, this can lead to faster processing, smoother video playback, and snappier response times when navigating menus.

But wait—isn't overclocking dangerous? It can be, if done recklessly. Pushing the processor too hard can cause overheating, shorten the device's lifespan, or even crash it. That's why I always caution: start small, monitor temperatures, and stop if you notice any issues (like random shutdowns or screen flickers). Most frames are built with some headroom, though, so with careful tweaking, you can safely boost performance without risking damage.

Heads Up: Overclocking might void your warranty. Check your frame's manual or contact the manufacturer first! If you're not comfortable with that, stick to the UFO test to assess performance—you can still optimize without overclocking by closing background apps or updating the firmware.

So, why bother? For me, it was all about those little moments. When my daughter watches her birthday video on the frame, I want her to giggle at how goofy she looked covered in cake, not squint and say, "Why is it fuzzy, Mom?" Overclocking ensures those memories are displayed the way they deserve—bright, clear, and full of life.

Step-by-Step Overclocking Tutorial for Your Acrylic Frame

Ready to give it a try? Let's walk through the process, step by step. I'll use my own frame as an example—it's a mid-range model, nothing fancy, but the steps should apply to most acrylic motion video frames (and even some similar devices, like a video brochure with a built-in screen). Just remember: go slow, and if something feels off, hit "reset" and start over.

  1. Check Your Frame's Specs: First, find out your frame's current processor speed and maximum safe temperature. This info is usually in the user manual or on the manufacturer's website. My frame has a quad-core processor running at 1.2 GHz, with a max safe temp of 85°C (185°F). Write these down—they're your guardrails.
  2. Download Overclocking Software: Most frames run on a modified Android system, which is great because there are plenty of overclocking apps available. I used "SetCPU" (free on the Google Play Store), but "Kernel Adiutor" is another solid option. If your frame doesn't have access to the Play Store, you can sideload the APK file using a USB drive (just make sure to enable "Unknown Sources" in Settings > Security).
  3. Backup Your Data: Before making any changes, back up any photos or videos on your frame to a computer or cloud storage. It's unlikely, but if something goes wrong, you don't want to lose those memories!
  4. Start with Small Increments: Open the overclocking app and locate the "CPU Frequency" slider. My default was 1.2 GHz. I increased it by 100 MHz at a time (so 1.3 GHz first), then hit "Apply." Never jump by more than 200 MHz at once—this is how overheating happens!
  5. Test Stability: After each increment, run the UFO test again and use the frame normally for 10-15 minutes (browse menus, play a video, etc.). Watch for crashes, freezes, or the frame feeling hot to the touch. If everything seems stable, repeat step 4 (another 100 MHz). If not, decrease the frequency by 50 MHz and test again.
  6. Monitor Temperature: Use the app to check the CPU temperature periodically. If it gets above 80°C (for my frame), stop increasing the frequency. My frame stabilized at 1.5 GHz, with temps hovering around 75°C—safe and cool enough.
  7. Save Your Settings: Once you find the highest stable frequency, save the settings in the app so they persist after a restart. Some apps call this "Set on Boot"—enable that, and your frame will apply the overclock automatically every time it turns on.

After following these steps, I ran the UFO test again. The difference was. The UFO moved like it was gliding on ice—no blur, no stutters. The Motion Score shot up from 78 to 92, and videos that used to have a slight "choppiness" during fast movements (like my dog chasing a squirrel) now played seamlessly. It was worth every minute of tweaking.

Before and After: The Results Speak for Themselves

To really see the impact, let's compare my frame's performance before and after overclocking. I created a quick table to track the key metrics:

Metric Before Overclocking After Overclocking (1.5 GHz)
CPU Frequency 1.2 GHz 1.5 GHz (+25%)
UFO Test Motion Score 78/100 92/100 (+18%)
Motion Blur Mild trail behind UFO Minimal to no blur
Video Playback (1080p) Occasional stutters during fast scenes Smooth, no stutters
Menu Responsiveness 1-2 second lag when switching apps Near-instant response
CPU Temperature (idle) 55°C 62°C (+7°C)
CPU Temperature (under load) 70°C 75°C (+5°C)

As you can see, the temperature did rise slightly, but it stayed well below the 85°C threshold. And the benefits? Well, they speak for themselves. The frame feels more "alive" now, like it's keeping up with the energy of the videos I'm throwing at it. Even my husband, who's usually indifferent to tech tweaks, noticed: "Hey, that video of the beach looks way smoother. Did you do something to this thing?" (Cue me doing a little victory dance.)

Troubleshooting: What to Do If Things Go Wrong

Even with careful steps, overclocking can sometimes hit snags. Here are the most common issues I encountered (and how to fix them):

  • Frame crashes or freezes: This means you've pushed the frequency too high. Hold the power button for 10 seconds to force a restart, then open the overclocking app and lower the frequency by 50-100 MHz.
  • Screen flickers: Flickering can be a sign of unstable voltage. Some apps let you adjust the "CPU Voltage" slider—try increasing it by a small amount (e.g., 25mV) to see if that stabilizes things.
  • Overheating (above max temp): If the frame gets too hot (you'll feel it—uncomfortably warm to the touch), immediately lower the frequency. You can also improve cooling by placing the frame in a well-ventilated area (not in a closed cabinet) or using a small USB fan pointed at the back.
  • Won't boot after overclocking: Rare, but it happens. Most frames have a "recovery mode" you can access by holding specific buttons during startup (check your manual). From there, you can reset the device to factory settings, which will undo the overclock.

Remember: if you're ever unsure, it's okay to revert to the default settings. There's no shame in prioritizing stability over performance—your frame will still work great! I actually had to backtrack once when I tried to push to 1.6 GHz; the frame froze, and I learned my lesson about greedily chasing higher numbers.

Final Thoughts: Making Memories Shine Brighter

At the end of the day, an acrylic motion video frame isn't just a tech gadget—it's a storyteller. It's there to remind you of the laughter, the tears, and the messy, beautiful moments that make life special. Taking the time to run the UFO test and tweak the performance (whether through overclocking or simple optimizations) ensures those stories are told the way they deserve—clearly, smoothly, and with all the heart they hold.

So, grab your frame, run that test, and don't be afraid to experiment a little. You might be surprised by how much better it can perform. And when you see that first smooth video playback, that first sharp UFO gliding across the screen—trust me, it'll be worth it. After all, your memories aren't just pixels on a screen. They're yours , and they deserve to shine.

Happy framing!

HKTDC 2026