Video Manual: UFO Test Optimization and Overclocking Operation Guide

Video Manual: UFO Test Optimization and Overclocking Operation Guide

author: admin
2025-09-12

Introduction: Why Your Display's Performance Matters More Than You Think

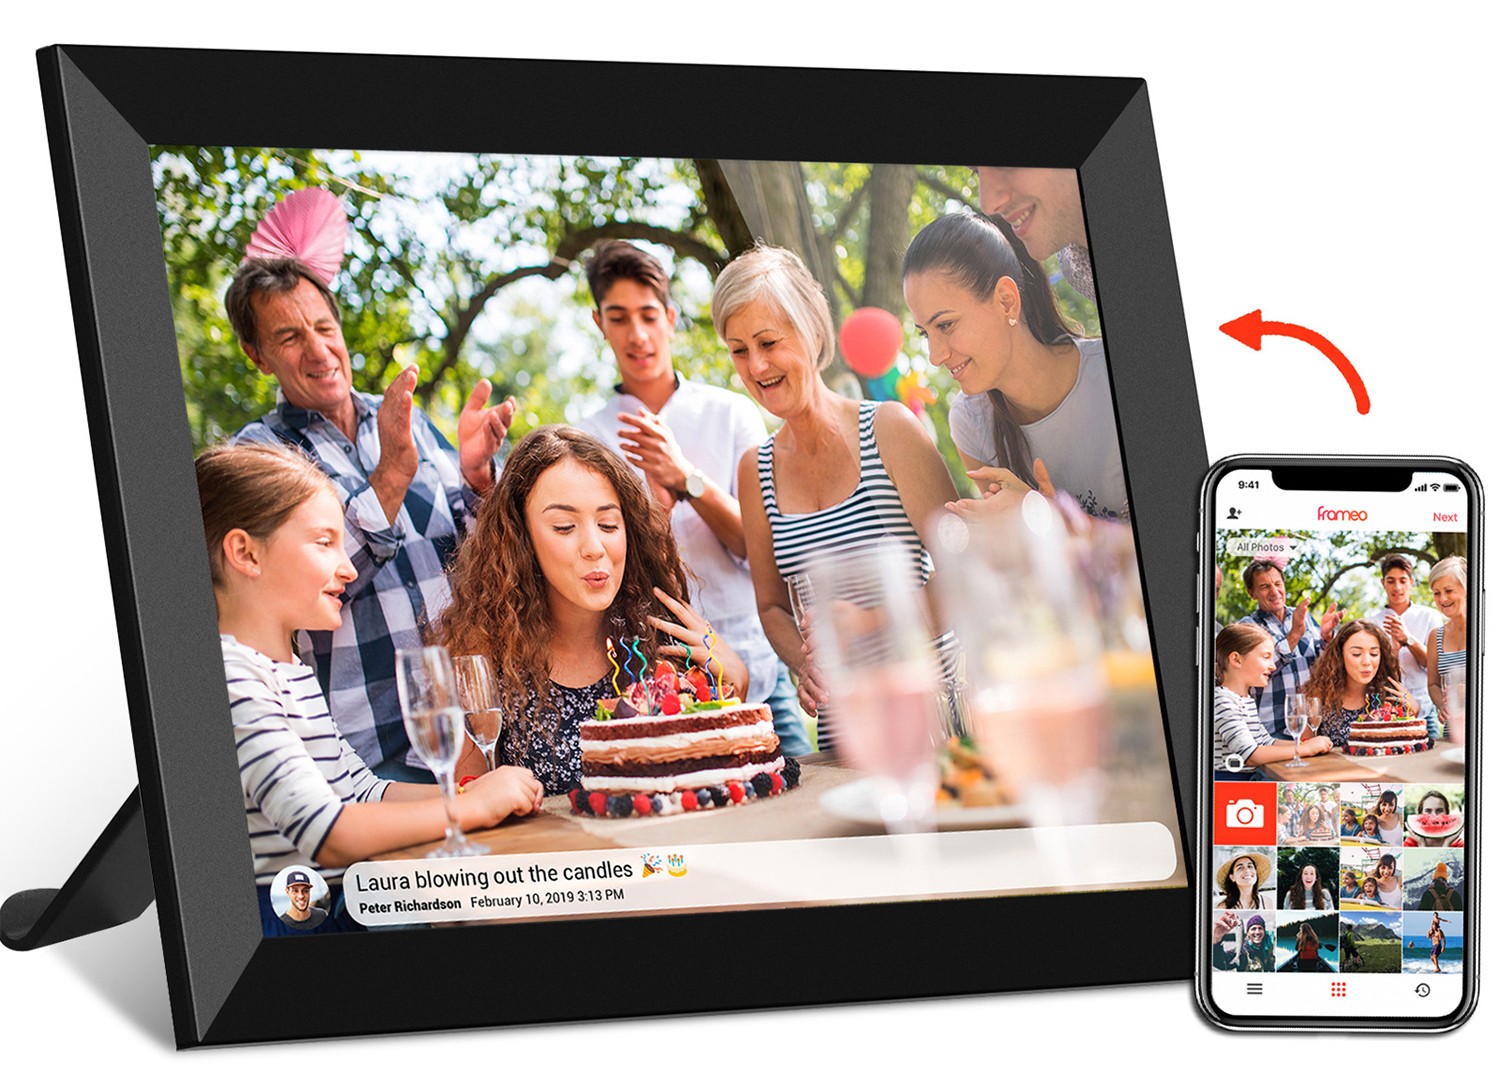
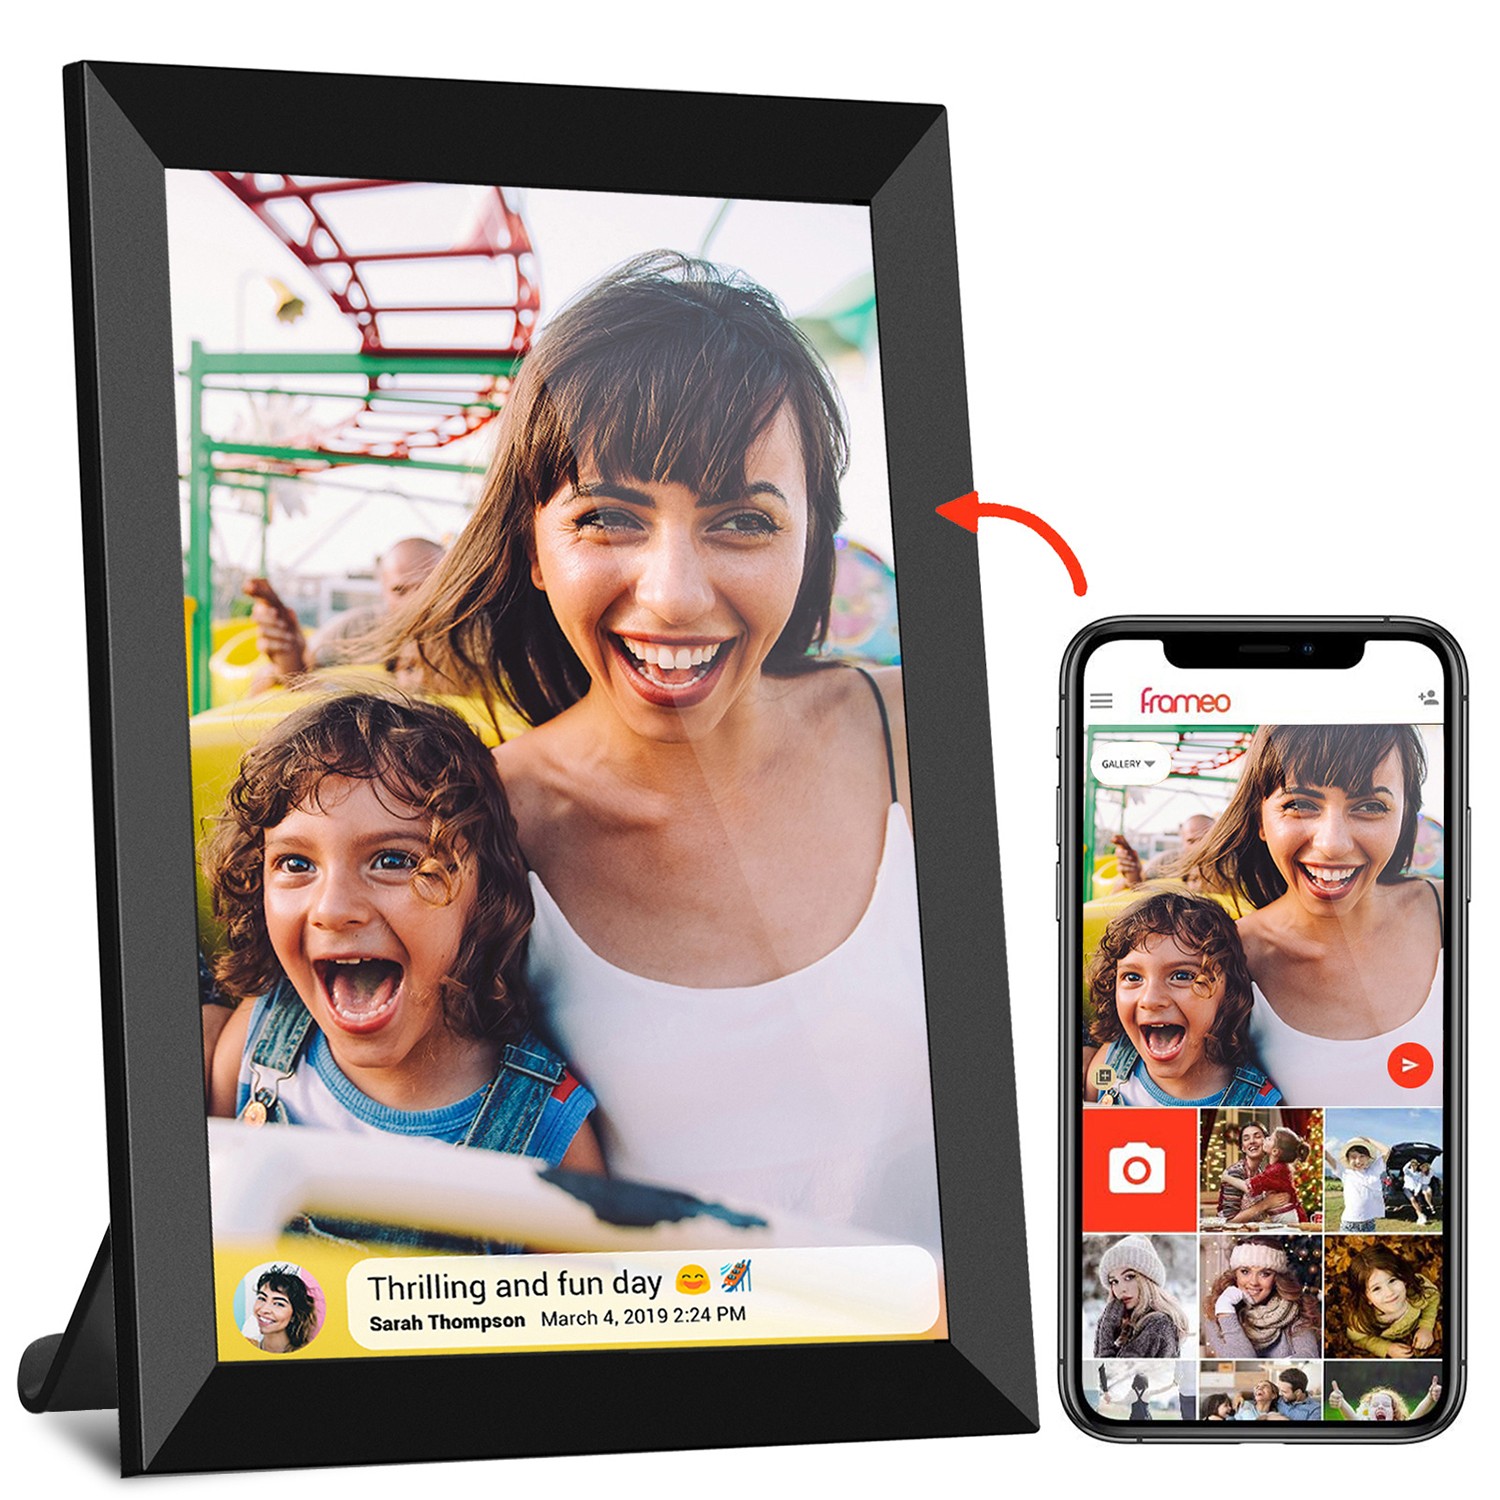
Let's be real—whether you're a die-hard gamer chasing that perfect 144Hz refresh rate, a designer editing high-res videos, or just someone who streams their favorite shows after work, the quality of your display can make or break the experience. There's nothing more frustrating than watching a fast-paced action scene turn into a blurry mess or noticing lag when scrolling through photos on your 10.1 inch led digital photo frame . That's where the UFO test comes in. If you've never heard of it, don't worry—you're not alone. The UFO test, developed by TestUFO, is a simple yet powerful tool that checks how well your screen handles motion, measuring everything from refresh rate to response time. And today, we're diving deep into how to optimize your display for this test and even push its limits with overclocking, using examples like the 24.5 inch portable monitor and commercial digital signage setups.

Think of this guide as your friendly neighborhood tech buddy walking you through the process. No jargon, no complicated charts—just step-by-step advice to help you get the smoothest, clearest visuals possible. We'll start with the basics of the UFO test, move into pre-optimization prep, walk through hands-on tweaks for devices like portable monitors and digital signage, and even touch on safe overclocking. By the end, you'll not only understand what makes a display "good," but you'll also know how to make yours great.
Understanding the UFO Test: What It Is and Why It's a Game-Changer

First things first: What exactly is the UFO test? Imagine (oops, scratch that—let me rephrase) Picture this: You're scrolling through your social media feed, and a video of a race car pops up. If the car looks like a blurry streak instead of a sharp, moving object, your display might not be handling motion well. The UFO test simulates this scenario with a simple animation: a small UFO moving horizontally across the screen. By observing how clear the UFO is, how smoothly it moves, and whether there's any trailing or ghosting, you can gauge your display's motion performance.

But why does this matter? For gamers, a smooth UFO means less motion blur during fast-paced games like *Call of Duty* or *Valorant*, giving you a competitive edge. For digital signage owners—say, a restaurant with a floor standing digital signage showing daily specials—smooth motion ensures customers can read scrolling text or watch promotional videos without straining their eyes. Even for something as simple as a 10.1 inch led digital photo frame displaying family photos, a clear UFO test result means your kids' birthday party videos won't look like a pixelated mess when played back.

The test measures a few key metrics: refresh rate (how many times the screen updates per second, measured in Hz), response time (how quickly pixels change color), and motion clarity (how sharp moving objects appear). Most displays come with a "rated" refresh rate—like 60Hz or 144Hz—but the UFO test shows you the *actual* performance, which can sometimes be lower due to settings or hardware limitations. That's where optimization and overclocking come in: to bridge the gap between "rated" and "real-world" performance.

Pro Tip: To run the UFO test, simply open your browser and go to testufo.com. The site is free, requires no downloads, and works on everything from smartphones to large digital signage displays. We'll reference it throughout this guide, so keep it bookmarked!

Pre-Optimization Checklist: Getting Your Display Ready for Action

Before diving into tweaks and overclocks, let's make sure your display is set up for success. Skipping these steps is like trying to bake a cake without preheating the oven—you might get something edible, but it won't be great. Here's a quick checklist to run through:

Task What to Do Why It Matters
update Graphics Drivers Visit your GPU manufacturer's website (NVIDIA, AMD, or Intel) and download the latest drivers. Outdated drivers can limit refresh rate and cause compatibility issues with the UFO test.
Check Display Specs Look up your device's manual or use a tool like "Display Settings" (Windows) or "About This Mac" (macOS) to find its native resolution, max refresh rate, and panel type (IPS, TN, VA). Native resolution is always the sharpest, and knowing max refresh rate helps set overclocking goals.
Clean the Screen Wipe the display with a microfiber cloth to remove dust and smudges. Smudges can distort the UFO test animation, making it hard to judge clarity.
Adjust Room Lighting Dim harsh overhead lights or close curtains to reduce glare. Glare washes out the screen, making it harder to see motion trails or artifacts.
Backup Display Settings Take screenshots of your current display settings (resolution, refresh rate, color profile). If something goes wrong during optimization, you can easily revert to default.

For specific devices like the 24.5 inch portable monitor , there's an extra step: check the connection. Portable monitors often use USB-C or HDMI, and a loose cable can cause signal drops or reduced refresh rates. Try swapping cables if you notice intermittent issues—sometimes a frayed cable is the culprit!

Step-by-Step Optimization: Tuning Up Your 24.5 Inch Portable Monitor

Let's put that checklist to use with a real-world example: the 24.5 inch portable monitor . These sleek, lightweight displays are popular among remote workers, gamers, and travelers, but their default settings often leave room for improvement. Follow these steps to optimize yours for the UFO test:

Step 1: Set the Native Resolution

Your monitor's native resolution is the one it was designed for—for most 24.5 inch models, that's 1920x1080 (Full HD) or 2560x1440 (QHD). To check, right-click your desktop (Windows) or go to System Preferences > Displays (macOS). If the resolution is set lower, change it to native. Why? Non-native resolutions stretch or pixelate the image, making the UFO test results inaccurate. For example, a 24.5 inch monitor running at 1366x768 will make the UFO look blurry, even if the refresh rate is fine.

Step 2: Calibrate Color and Contrast

Most portable monitors have built-in presets like "Standard," "Gaming," or "Cinema." For the UFO test, we want balanced colors and contrast to avoid washing out the animation. Try the "Gaming" preset if available—it often boosts sharpness and reduces input lag. If you're feeling precise, use the monitor's on-screen display (OSD) menu to adjust contrast to around 70-80% and brightness to 50-60% (depending on room lighting). Avoid maxing out brightness—it can cause eye strain and distort motion clarity.

Step 3: Tweak Refresh Rate (Default First)

Start by setting the refresh rate to its rated maximum. For example, if your 24.5 inch monitor is rated at 144Hz, go to Display Settings > Advanced Display Settings > Display Adapter Properties > Monitor tab (Windows) and select 144Hz from the dropdown. On macOS, hold the Option key and click "Scaled" in Displays preferences to see refresh rate options. Once set, run the UFO test at testufo.com. The UFO should move smoothly with minimal trailing. If it looks choppy, double-check your cable—USB-C 3.1 or higher is required for 144Hz at 1080p; older cables might cap you at 60Hz.

Step 4: Enable Motion Enhancement (If Available)

Some monitors, especially gaming models, have features like "Overdrive" or "Response Time Compensation." These reduce ghosting by speeding up pixel transitions. In the OSD menu, look for an "Overdrive" setting and set it to "Medium" (avoid "High"—it can cause inverse ghosting, where the UFO leaves a white trail instead of a black one). Test different levels with the UFO test until the trailing is minimized.

Device-Specific Tip: If your 24.5 inch portable monitor uses In-Cell display technology (like the incell portable smart tv ), you're in luck! In-Cell panels integrate touch sensors into the display layer, reducing thickness and improving light transmission. This can enhance motion clarity by making pixels respond faster—so your UFO test results might be better than with traditional panels.

Step 5: Test and Adjust

Run the UFO test again after each tweak. Pay attention to the "Motion Blur Test" and "Frame Rate Test" sections on testufo.com. The ideal result? A sharp UFO with no visible trailing, moving at a consistent speed. If you notice judder (jerky movement), check if your GPU is struggling—close background apps like video editors or games that might be hogging resources. For portable monitors, battery life can also affect performance—plug it in during testing to ensure full power.

Overclocking Basics: Pushing the Limits Safely

Optimization gets you to "good," but overclocking can take you to "great." Overclocking means increasing your display's refresh rate beyond its rated maximum—for example, turning a 60Hz monitor into a 75Hz one. The benefits? Smoother motion, better gaming, and snappier interactions. But before you dive in, let's talk about the risks: overclocking can cause screen flickering, artifacts (strange lines or colors), overheating, or even permanent damage if done recklessly. Think of it like revving a car engine—fun, but you don't want to redline it for hours.

The good news? Most modern displays (including portable monitors and digital signage) can handle a small overclock safely. The key is to start slow, test thoroughly, and stop if you see issues. We'll focus on two common devices: the 24.5 inch portable monitor and digital signage (like a wall-mounted unit in a office lobby).

Important Safety Note: Overclocking may void your display's warranty. Check the manufacturer's terms before proceeding. If you're unsure, stick to optimization—you'll still see a noticeable improvement!

Overclocking Your Display: Step-by-Step for Portable Monitors and Digital Signage

For the 24.5 Inch Portable Monitor

Portable monitors are a bit trickier to overclock than desktop displays because they're powered by laptops or USB-C hubs, which have limited power. But with caution, you can often squeeze out an extra 10-20Hz. Here's how:

Step 1: Use Custom Resolution Utility (CRU)

CRU is a free tool that lets you create custom display modes, including higher refresh rates. Download it from monitortests.com, open the app, and select your monitor from the dropdown. Click "Add" under "Detailed Resolutions," set the resolution to native, and the refresh rate to 5Hz above the rated max (e.g., 144Hz → 149Hz). Click "OK" and restart your computer.

Step 2: Test for Stability

After restarting, go to Display Settings and select the new refresh rate. Run the UFO test for 10-15 minutes. If the UFO moves smoothly with no artifacts, try increasing by another 5Hz (149Hz → 154Hz). Repeat until you see issues like flickering or the monitor blacks out. When that happens, back off by 5Hz—that's your stable overclock.

Step 3: Monitor Temperature

Portable monitors can get warm during overclocking, especially if they're in a case or on a soft surface (like a bed). Feel the back of the monitor—if it's too hot to touch, reduce the overclock or improve ventilation (prop it up on a book to let air circulate).

For Digital Signage (e.g., Floor Standing Units)

Digital signage is built for 24/7 use, so it's often more robust than portable monitors. Overclocking a floor standing digital signage unit can make scrolling text or promotional videos look smoother, which is great for customer engagement. Here's how to do it:

Step 1: Access the Signage's OS

Most digital signage runs on Android or Windows. For Android, go to Settings > Display > Advanced > Refresh Rate. For Windows, use the same method as the portable monitor (Display Settings > Advanced Display Settings). Note the rated max (often 60Hz for commercial units).

Step 2: Incrementally Increase Refresh Rate

Start with 65Hz, then 70Hz, testing the UFO test after each change. Digital signage often uses VA panels, which have slower response times than IPS panels—so you might hit a wall sooner (e.g., 75Hz max). Focus on stability over speed—customers won't notice 70Hz vs. 75Hz, but they *will* notice a flickering screen.

Step 3: Lock in the Setting

Once you find a stable overclock (e.g., 70Hz), save the setting and run the UFO test for an hour. If no issues occur, you're good to go! For 24/7 use, consider setting up a nightly reboot to prevent memory leaks, which can cause instability over time.

Testing Stability Post-Overclock: Don't Skip This Step!

You've overclocked your display—now what? Stability testing is crucial to ensure it can handle the new settings long-term. Here's how to do it like a pro:

Run the UFO Test for Extended Periods

The quick 5-minute test is good for initial checks, but you need to stress-test. Run the UFO test for 30-60 minutes straight. If the monitor blacks out, flickers, or shows artifacts (like random lines or color shifts), the overclock is too high. drop the refresh rate by 5Hz and test again.

Use Benchmark Tools

Tools like BlurBusters UFO Motion Test (the advanced version of testufo.com) or DisplayPort Analyzer can measure input lag and frame rate consistency. For gamers, try a game with fast motion (e.g., *Fortnite* or *Apex Legends*) and see if you notice smoother gameplay. For digital signage, play a loop of scrolling text and video—if the text becomes unreadable, dial back the overclock.

Monitor Temperature

Overclocking increases power draw, which generates heat. For portable monitors, use a thermal gun (or just your hand) to check the back panel—if it's hotter than 40°C (104°F), reduce the refresh rate. For digital signage, ensure vents aren't blocked by dust or objects—overheating can shorten the display's lifespan.

Pro Stability Tip: If you're overclocking a display connected to a laptop, plug in the laptop's power adapter. Battery power can cause voltage fluctuations, leading to instability even if the overclock works on AC power.

Troubleshooting Common Issues: When Things Go Wrong (and How to Fix Them)

Even with careful testing, issues can pop up. Here's how to troubleshoot the most common problems:

Problem: Screen Artifacts (Lines, Colors, or Flickering)

Cause: The refresh rate is too high for the monitor's panel or GPU to handle. Solution: Lower the refresh rate by 5-10Hz. If artifacts persist, reset the monitor to factory settings via the OSD menu.

Problem: Black Screen After Overclock

Cause: The monitor can't display the custom resolution/refresh rate. Solution: Restart your computer and press F8 during boot (Windows) to enter Safe Mode. In Safe Mode, the display will use default settings—open CRU or Display Settings and revert to the original refresh rate.

Problem: Overheating (Portable Monitor)

Cause: Increased power draw from overclocking. Solution: Reduce the refresh rate by 5Hz, and ensure the monitor has airflow (don't use it on a bed or couch cushion). Some users even attach small USB fans to the back for extra cooling.

Problem: Digital Signage Freezes or Reboots

Cause: Overclocking stressing the signage's processor. Solution: Revert to the rated refresh rate. If the issue continues, check for firmware updates—manufacturers often release patches for stability issues.

Advanced Tips for Enthusiasts: Taking It to the Next Level

If you've mastered the basics and want to squeeze every last drop of performance from your display, here are some advanced tips:

update Monitor Firmware

Manufacturers sometimes release firmware updates that improve refresh rate stability or add new features. Check the brand's website (e.g., ASUS, Dell, or your digital signage supplier) for updates. For example, a firmware update for the 24.5 inch portable monitor might unlock a higher default refresh rate, reducing the need for overclocking.

Use a Dedicated GPU

Laptop users or those with integrated graphics (like Intel UHD) might hit a wall with overclocking. A dedicated GPU (e.g., NVIDIA GeForce or AMD Radeon) has more processing power to handle higher refresh rates, making overclocks more stable.

Multi-Display Optimization

If you're using multiple displays (e.g., a portable monitor and a hy300 ultra projector for a home theater setup), ensure both are optimized. The UFO test can be run on each display individually—just drag the browser window to the screen you want to test. Keep refresh rates consistent across displays to avoid tearing when moving windows between them.

Color Calibration for Motion Clarity

Professional color calibration tools (like the Datacolor SpyderX) can fine-tune gamma and color temperature, which indirectly improves motion clarity. Warmer color temperatures (more red/yellow) can reduce eye strain during long UFO test sessions—handy for overclocking marathons!

Conclusion: Your Display, Optimized and Overclocked (Safely!)

We've covered a lot today—from understanding the UFO test to optimizing your 24.5 inch portable monitor , overclocking digital signage , and troubleshooting common issues. Remember, the goal isn't to hit the highest refresh rate possible—it's to get smooth, stable visuals that enhance your daily use, whether that's gaming, working, or displaying family photos on a 10.1 inch led digital photo frame .

Take your time, test thoroughly, and don't be afraid to revert to default settings if something feels off. With patience and a little tech know-how, you'll be enjoying buttery-smooth motion in no time. And if you ever need a refresher, just come back to this guide—we'll be here, cheering you on as you turn your display from "meh" to "wow."

Now go fire up the UFO test, tweak those settings, and enjoy the view—your eyes (and your inner tech geek) will thank you!

HKTDC 2026